Crafty tutorials

Happy Mail Folder project share

Hi crafty friends, I’m here today to share a project I made for happy mail. It’s a little folder with various pockets and tuck spots to add in goodies of various sizes. I love taking part in crafty swaps and sending little RAKs (Random Acts of Kindness) to crafty friends) and my idea was to have a handy little folder to keep all those goodies safe and sound on their journey to their new home!

I started with an a4 sheet of craft card and I cut out a tab at the top (by drawing around the shape from a file folder). I then scored at 9 cm 10 cm 22 cm and 23 cm to create the base shape of the folder. I decorated the panels with digital papers from the Imperial Indigo Papers from Antonio Makes. Now to decorate the inside and create some pockets and tuck spots. I am on the Creative Squad for Antonio Makes and he has very kindly given me a 10% discount code for you all to use, just enter JENNY10 to get your discount when you make any purchase!

I used several elements from the Imperial Indigo Embellishment pack including some pockets and envelopes as well as tags and tabs.
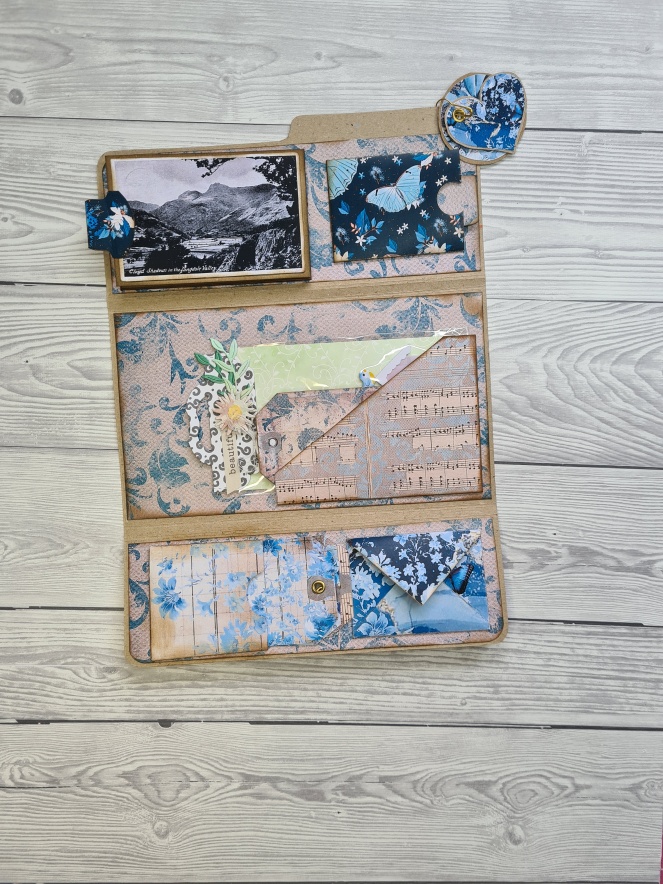
For the top section I created a little fold out accordion to show case these super cute post cards (a freebie from Antonio’s facebook group!). I cut 2 x 7 cm strips from an A4 of craft card and scored them at 10.5 cm and 21cm. I glued the two shorter ends to make a panel measuring 10.5 cm and inked round the edges before adding the postcards and gluing the back panel onto the folder. I added the blank postcard to the back so I could write a message or pop some pictures onto these panels. I also added some velcro dots to stop it from opening up. I also added a tab to the outside edge.

In the space left over I added a pocket with a journal card I made from a scrap of craft card with some of the left over patterned papers and a tab.

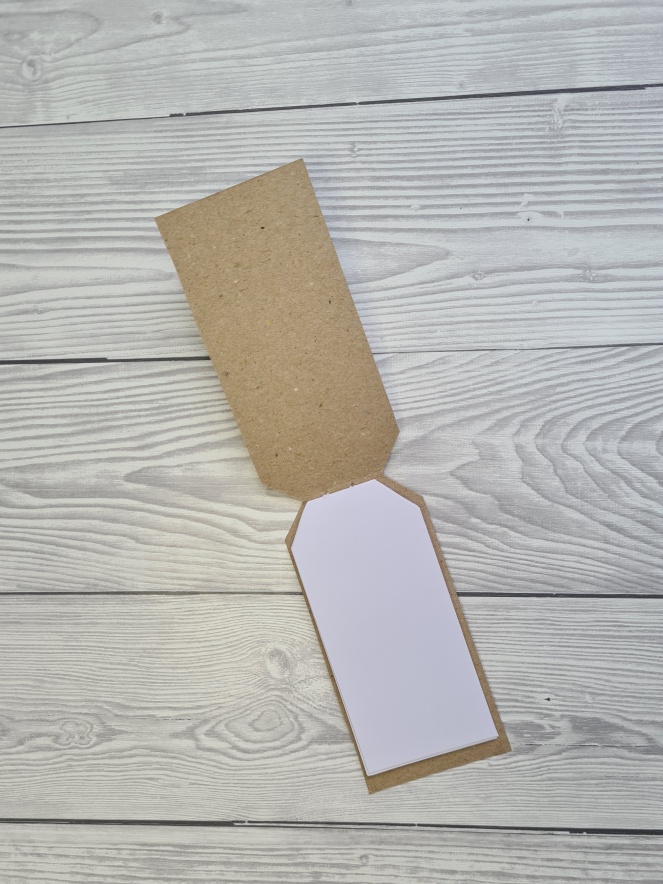
For the center panel I added a diagonal pocket which is large enough to fit in my handmade embellishment packs. I also create a little tag notebook using one of the printable tags mounted on craft card. I added pages of copy paper cut to size with a simple stitch tied into a bow.

The bottom panel I added an envelope and another side pocket. The envelope is the perfect size to add in twinchies and inchies. To the side pocket I added some tags from the embellishment collection, I just trimmed them down to fit perfectly!

TThe finishing touch was a couple of little tags with eyelets on a bulb pin and a simple gold elastic belly band to keep everything safe inside.

I shared a video too showing this project on the Ginger Ninja Crafts YouTube channel.

Crafty tutorials

Making a zine – crafty lockdown ideas!

Happy humpday crafty people, I hope you are doing well in these strange times.  I’ve been keeping busy in the craft room and yesterday while I was tidying up some of my stash I found a zine I made a couple of years ago and thought I would make another one…. a quarantine zine (sorry I can hear the groans from here!!)

I’m sure many of you will have made these but I thought I would share the method just in case you have forgotten or it’s your first zine!

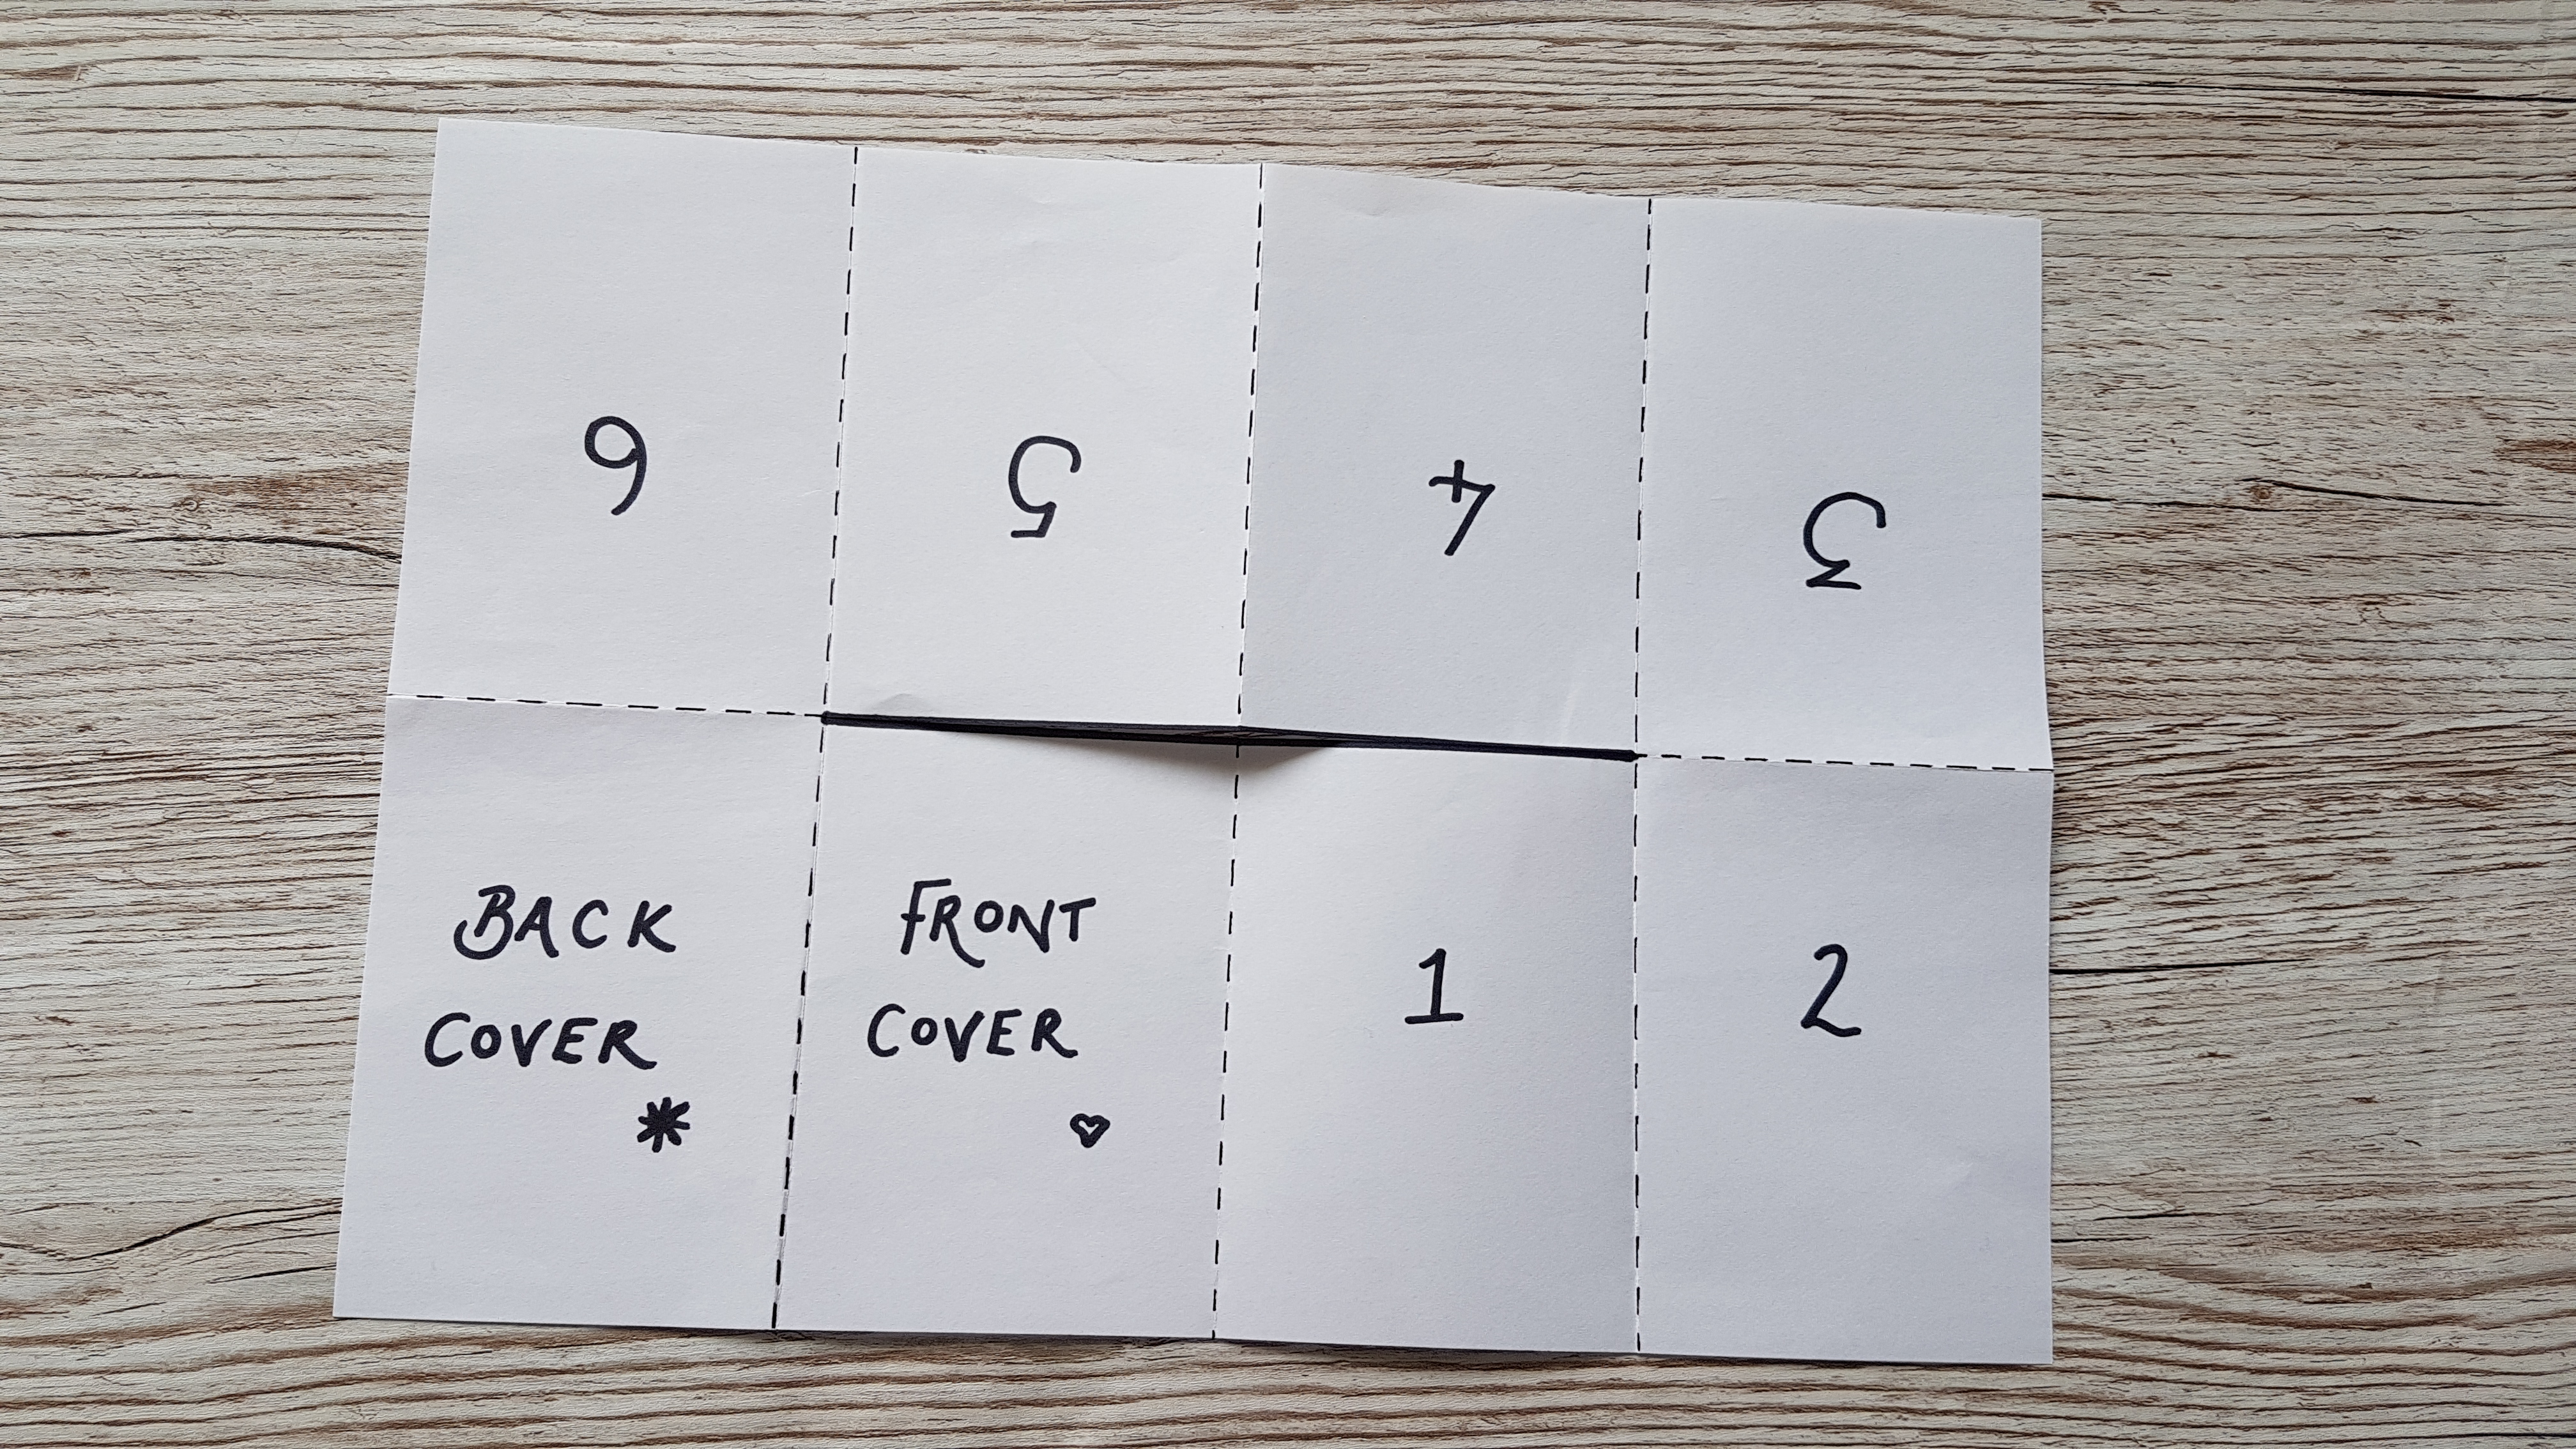
The basic zine is super easy, I used one sheet of A4 printer paper.  You want to fold the paper as per the dotted lines in this picture (I’ve made a video showing the folding of the zine on the Ginger Ninja Crafts Facebook Page. )

20200401_150006.jpg

I’ve added the page numbers so you can see the order these pages will appear in your zine.  This template is available to download here A4zinetemplate .

Once you’ve created your structure the fun part begins.  You will want to decide on a theme, and map out what you want to include.  I decided to use the lockdown as inspiration, focusing on some of the ways I’m coping with the restriction.  You can decorate your zine however you like.  Here is how I decorated my pages….

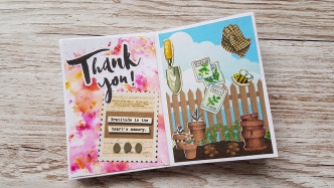
I used some scraps of papers I had made using inks, watercolours and nuvo shimmer powders as well as printed papers, stickers, printed phrases, fabric embellishments and paper ephemera.  The front page was a rainbow I had done ages ago while practicing with water colours and the salt technique.  That felt appropriate as there are lots of rainbows in windows at the moment that the children are making to brighten up their walks around the estate.

The final thing I did was scan it in and make a colour photocopy as my original was a little bulky due to the papers and embellishments I’d used.  If any of you would like to print it off and make it up into a little zine you can download it here Quarantinezine

I hope that you enjoyed my little tutorial today.  If you pop over to watch the facebook video why not leave me a like or a comment to say you came over from the blog.

Stay safe and well everyone and crafty hugs

Jenny (AKA the Ginger Ninja!) xx


Crafty tutorials

Corner Bookmarks Tutorial

Happy Monday everyone.  I thought I would share a simple craft project that you don’t need many materials for.  I love reading and never seem to have enough bookmarks so these cute corner bookmarks will come in handy!

  1. To start with cut a square of card measuring 4 x 4 inches.
  2. Fold the square in half lengthways, then open flat
  3. Fold the square across the middle
  4. Open flat, your two fold lines should create 4 quarters.


corner bookmark

5. Cut one of the quarters created by the folds from step 2 and 3

6. With a ruler draw straight lines as per image 6 above

7. Cut the two outside triangles to create the shape in image 7 above.

8. fold these two triangles over and glue the top triangle to create a pocket.

9. You are ready to decorate your bookmark.

I’ve made a few different varieties of these …

20200326_164647.jpg

I’ve uploaded a video of me making this project on the Ginger Ninja Crafts on facebook so if you want to fold along with me you can!  Many thanks for visiting the blog and for leaving a like or a comment, it makes my day!

Crafty hugs

Jenny