Hi crafty friends, I’m here today to share a project I made for happy mail. It’s a little folder with various pockets and tuck spots to add in goodies of various sizes. I love taking part in crafty swaps and sending little RAKs (Random Acts of Kindness) to crafty friends) and my idea was to have a handy little folder to keep all those goodies safe and sound on their journey to their new home!

I started with an a4 sheet of craft card and I cut out a tab at the top (by drawing around the shape from a file folder). I then scored at 9 cm 10 cm 22 cm and 23 cm to create the base shape of the folder. I decorated the panels with digital papers from the Imperial Indigo Papers from Antonio Makes. Now to decorate the inside and create some pockets and tuck spots. I am on the Creative Squad for Antonio Makes and he has very kindly given me a 10% discount code for you all to use, just enter JENNY10 to get your discount when you make any purchase!
I used several elements from the Imperial Indigo Embellishment pack including some pockets and envelopes as well as tags and tabs.
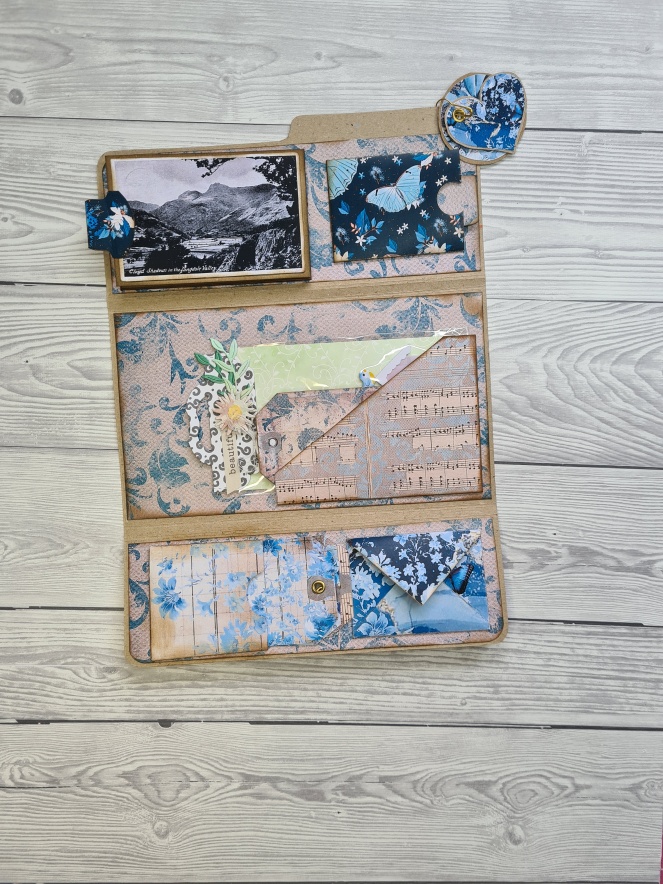
For the top section I created a little fold out accordion to show case these super cute post cards (a freebie from Antonio’s facebook group!). I cut 2 x 7 cm strips from an A4 of craft card and scored them at 10.5 cm and 21cm. I glued the two shorter ends to make a panel measuring 10.5 cm and inked round the edges before adding the postcards and gluing the back panel onto the folder. I added the blank postcard to the back so I could write a message or pop some pictures onto these panels. I also added some velcro dots to stop it from opening up. I also added a tab to the outside edge.
In the space left over I added a pocket with a journal card I made from a scrap of craft card with some of the left over patterned papers and a tab.

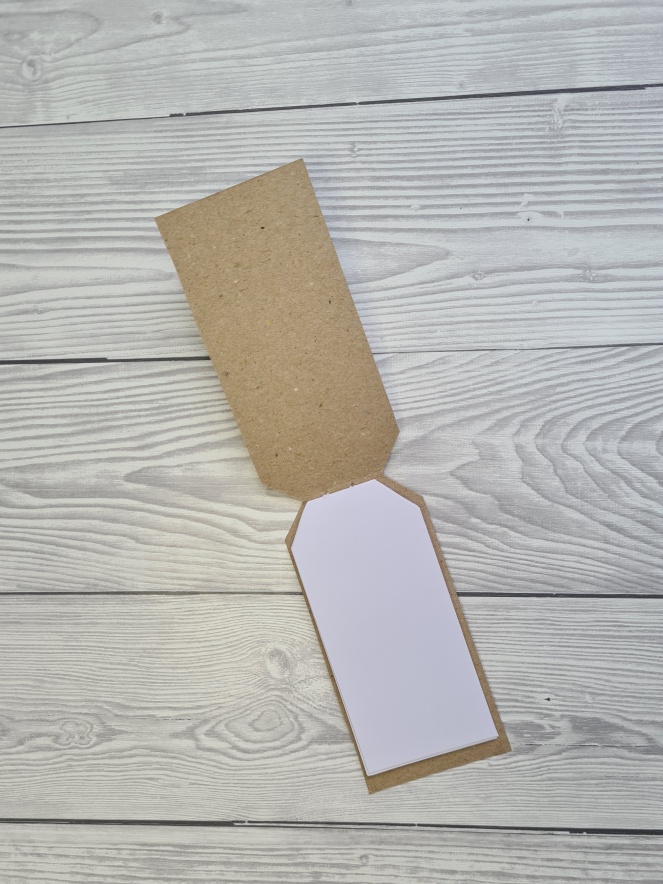
For the center panel I added a diagonal pocket which is large enough to fit in my handmade embellishment packs. I also create a little tag notebook using one of the printable tags mounted on craft card. I added pages of copy paper cut to size with a simple stitch tied into a bow.

The bottom panel I added an envelope and another side pocket. The envelope is the perfect size to add in twinchies and inchies. To the side pocket I added some tags from the embellishment collection, I just trimmed them down to fit perfectly!

TThe finishing touch was a couple of little tags with eyelets on a bulb pin and a simple gold elastic belly band to keep everything safe inside.
I shared a video too showing this project on the Ginger Ninja Crafts YouTube channel.

This is so lovely! I like the colors, the texture and the basic layout. Great job!
LikeLiked by 1 person
Thanks so much Theresa xx
LikeLike
You did an awesome job on this. It’s really gorgeous 🙂 I love the blue! I have done quite a few Christmas themed envelope type folders similar to this. I got some really great ideas from your design….
LikeLiked by 1 person
Thanks so much Sharon, oo that’s a fab idea, I might get ahead and make some Christmas ones ready for sending to some crafty pals so I’m organised! xx
LikeLike